
- Home
- | Galleries ▼
- | Collections ▼
- | About ▼
- | Blog
- | Zines
- | Login
Indoor Projects - Shells

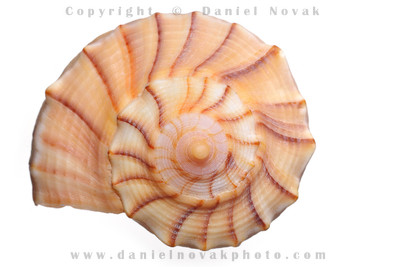 Lightning Whelk Shell
 Another home project as I did not find my way out of the door. I decided to retake some shots of shells we brought back from Marco Island, FL a while back. I figured it was time to see how the D600 handles extension tubes. I put the 50mm f/1.8 lens on a Kenko extension tube and went for it.
One thing I did not do was realize that my blog has a black background theme and as such I should have shot both on white and on black. Oh well, looks like another indoor photo project in making.
My previous shell photos were taken using the Nikon D200. Since the D200 did not have a live view I wanted to try if that was going to work any better than the phase detection focus, which was not good for this application at all. I took my first round of photos using live view and a fairly high magnification on the LCD to see if the contrast based auto-fous can tackle this close up range. Long story short, it could not. Even right on the LCD it was clear it was not doing well and on the computer I confirmed that most shots were about 1" back-focused, which was a huge problem leaving most of the front of each shell blurry.
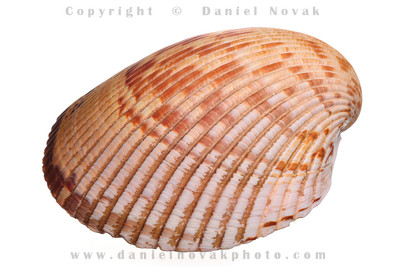 Giant Heart Cockle Shell
So I went back to the good and tried method of focusing manually as close as possible through the finder and then moving the shell back and forth to fine tune the focus. I still found the optical finder better for this. It felt like the LCD motion was not smooth enough to clearly see the textures come in and out of focus.
Giant Heart Cockle Shell
So I went back to the good and tried method of focusing manually as close as possible through the finder and then moving the shell back and forth to fine tune the focus. I still found the optical finder better for this. It felt like the LCD motion was not smooth enough to clearly see the textures come in and out of focus.
Bottom line? The D600 got me larger higher resolution photos but the key here is focusing and lighting. So whether you have an older SLR or a new one you can get yourself some nice macro shots in the comfort of your home.
A note on the set up: I used a white mat board you can buy in art supplies stores like Jo Ann or A. C. Moore and curved it on a chair using the back rest for support of the curve. I clamped the mat board to the seat of the chair. Then I stacked books on the left and right and laid a picture frame glass over them about 5 inches above the mat board. From there on it is about getting the right exposure and focus. For exposure, the background has to be bright enough to obliterate the glass (don't get the edge in your shot) but not too bright to cause flare and rob your shot of contrast. I commented on focus above: Focus manually as close as you can and then move the subject back and forth while observing focus.
I used f/22 for maximum depth of field but at this distance, even that is not much. For an even bigger depth of field one would need a tilt lens or use software for focus stacking. More on that possibly in the future.
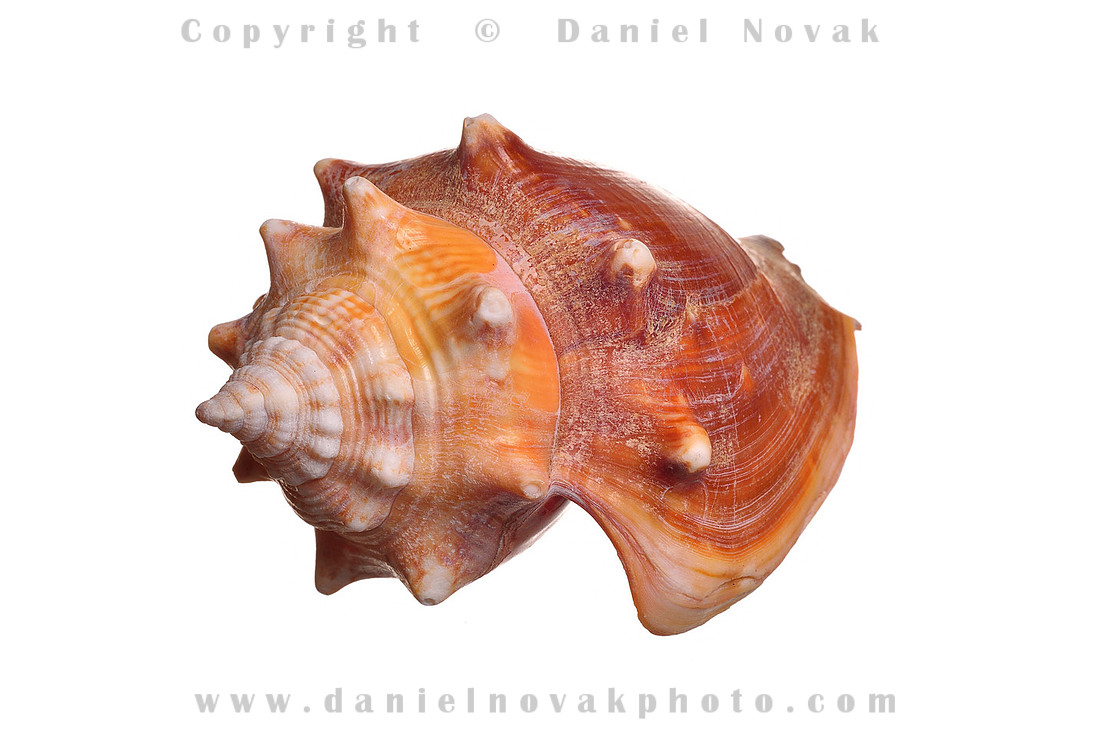
Have fun with your close up subjects!
Equipment used:
- Nikon D600
- Nikkor 50mm f/1.8 (or the newer AF-S version)
- Kenko extension tube set
- 2 x SB-600 (now replaced with Nikon SB-700)
- 3 section Light / Flash stand with a shoe mount flash + umbrella bracket
- Small photo umbrella
- Manfrotto tripod (055MF3) and head (496RC2)
- 20" x 30" white illustration board curved and clamped to a chair
- Picture frame glass
- Two stacks of books to sit the glass on
Using my links to buy your equipment keeps me going and costs you nothing. You can also use the Amazon search box in bottom left for anything not mentioned here. Thank you!
Keywords:
50mm,
D600,
Kenko,
Nikkor 50mm,
Nikon 50mm,
Nikon D600,
auto focus,
auto-focus,
budget equipment,
contrast detection focus,
extemsion tube,
flash stand,
glass,
home studio,
how to,
illustration board,
indoor photo projects,
indoor photography,
indoor projects,
light stand,
live view,
macro,
macro photography,
manual focus,
mat board,
phase detection focus,
photo umbrella,
shells,
tripod
Comments
No comments posted.
Loading...
Visit one of my photo galleries to purchase prints and other photo products. Thank you for visiting!
Subscribe
RSS
Recent Posts
Ithaca, NY in the Fall
Late Winter Sunrise at Green Lake, Orchard Park, NY
California 2026, Day 1: Solvang
Exploring Johnson City, New York
California 2026, Day 0: Arrival
The Magic of Niagara Falls in Winter
Newfield Covered Bridge, a Roadtrip Surprise
When the Lake Effect Machine Freezes Over
Birdsong Park in Winter, Second Roll of Film of the Year
Cyanotypes XXII: Blogging Catchup
Archive
January
February
March
April
May
June
July
August
September
October
November
December
© Daniel Novak