
Welcome to my blog! Read about photography, film photography in 35mm, medium, and large formats, pinhole photography, about darkroom printing, alternative photographic processes, and more. Thank you for visiting!
Dealing with Perspective Distortion by Stitching Multiple Photos
I have been recently asked whether I could shoot some historic buildings in Buffalo, NY. As a result, I have spent some time with the Buffalo Architecture: A Guide book and looked for some new ideas. I've picked a few locations and headed downtown about half an hour after sunrise. It turned out that I should have consulted The Photographer's Ephemeris (TPE) for the sun position to know that at this time of the year, the sun was still too far north that early and my subjects would still be in a deep shadow. Since I chose not to, my primary location was not well lit. I will need to go back at a later time, or later in the season, when the sun is shining from the East (that brings another problem of rather flat lighting that obliterates textures but amidst high rise buildings one can't have it all). So I headed to my backup location, the Dun Building, that has stayed out of my collection so far.
Even here, the sun was hitting only the top and would take too long to move to the east, however, as it would rise it would illuminate more and more of the building. And I liked the partial highlight giving the building a different character compared to full front lighting. I walked in the area for about half an hour and the sun worked its way couple floors down, lighting up the top three floors now. I was ready to give it a shot.

 So now for the problem definition. When you photograph a tall building and simply point your camera up to fit the building in, it appears to fall backwards in photos. I did not take that version as a starting point this morning so I am including a different photo where my camera was tilted up. You can clearly see both the Court Building on the left and City Hall on the right distorted, narrowing towards the top.
That was not the look I wanted. I wanted to make it look like the building was photographed head on. What choices does one have? I am sure I will forget some but here are several that come to mind: a view camera with its shift movement or a tilt / shift lens for my DSLR (Nikon 24mm PC-E, Canon 24mm TS-E). I do not have either. Next, I could keep my camera parallel to the face of the building insuring a distortion free photo and backing up until the whole building fit in. While that works it has drawbacks. One ends up with a lot of dead foreground and cropping throws out about half of the resolution. With a wide angle lens, it may not be necessary ro back up too much but then wide angle lens distortion might be introduced. You may not always be able to back up much either. And while I could here as you back up things start getting in the way - poles, wires, parking lot booths, and more.

Then there are some software solutions. You can point the camera upwards and take your skewed photo and later use software like PTLens to correct it. This is a single photo solution but requires caution. Less distortion is easier to correct and you will need some space around the building as you will lose it during the shifting process. I have had a mixed experience with this and will continue to try to get better at predicting what the software will need.
This morning, I went for another software solution, which is normally used for panorama stitching, only this time my panorama would be tall, not wide. I have been using PTGui for several years and have been very happy with it. I pointed the camera straight ahead at the building (holding the camera for a horizontal photo) and zoomed in to fill the width of the frame with the building leaving some small margins for errors and to provide breathing room. Tis would be my anchor frame - one of the PTGUI features allows you to select one of the frames as an anchor that drives the perspective. Then, I tilted the camera up a little, overlapping more than for a normal panorama, about 50% of the frame. I repeated that for the whole height of the building.
Five frames was what I needed to get the whole building in. Later at the computer I loaded the JPGs into PTGUI and let it do its magic. I had to pick the perspective rendering that yielded what I liked the most, tweak the anchor image position a little since some leaning was still present, and correct a little rotation since my anchor image was not perfectly level. Overall, just a few minutes of manual work.
After PTGUI, I cropped to what you see on the left. The nice side effect of this method is that it does not reduce your final resolution but boosts it. The file I have to work with is 10609 x 3972 (42 megapixels) and I did not even select the maximum output size out of PTGUI.
Some drawbacks here? Shooting from very close, just across the street, provides a different perspective then stepping back would. This is the most pronounced here with the roof overhang, which seems negligible from distance yet here, looking at it from underneath, it is rather pronounced. I guess I have just found my next project - going back and doing the straight shot from distance for comparison.
Have fun working your perspective!
Equipment used:
- Nikon D600
- Nikon 24-85mm Nikkor Lens
- Handheld, no tripod, no filters
- Think Tank Speed Demon Waist Pack, Petzl Zipka Plus 2 Headlamp (always in the bag just in case), SanDisk Extreme 32GB SD Cards
- PTGUI, GIMP, Nikon Capture NX2
Using my links to buy your equipment keeps me going and costs you nothing. You can also use the Amazon search box in bottom left for anything not mentioned here. Thank you very much, I really appreciate it!
Road Trip: Lake Michigan Sunset at Indiana Dunes
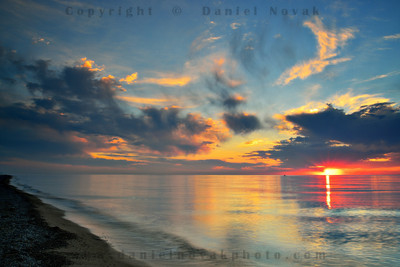 Road Trip 2013 - Day 1 - June 11 - New York, Pennsylvania, Ohio, Indiana:
This year we decided on a different family vacation. Instead of a typical destination vacation we planned a mix of that and a road trip. Since we had some constraints for leaving, it ended up being 4 days to drive to our remote base, enjoy a week there, and then a week to return.
To better enjoy most of the outbound leg we decided to drive a bit more the first day so that there would be less driving afterwards. We covered Buffalo, NY to Merrillville, IN (about 510 miles). And despite a very late start timing worked out perfectly to catch a sunset at Indiana Dunes by Mt. Baldy. It was a nice short hike at the end of the day to stretch out and relax while watching the sun disappear over Lake Michigan. Then it was the hotel, rest, and Day #2.
Enjoy your summer vacation, wherever your plans take you!
Equipment used:
- Nikon D600
- Nikon 24-85mm Nikkor Lens
- Induro Carbon Fiber 4-section Tripod (CT014) (my travel tripod; its four sections give it smaller collapsed size and it's also lighter than my standard workhorse tripod (055MF3). It has been through deserts and oceans and is still going strong after 4 years)
- Manfrotto ball head (496RC2)
- Cokin graduated ND4 filter
- Cokin P Holder with a 72 mm Adapter
- Think Tank Speed Demon Waist Pack, Petzl Zipka Plus 2 Headlamp (always in the bag just in case), SanDisk Extreme 32GB SD Cards
- Exposure delay mode of 2 seconds, no remote release
- Nikon Capture NX2
Using my links to buy your equipment keeps me going and costs you nothing. You can also use the Amazon search box in bottom left for anything not mentioned here. Thank you very much, I really appreciate it!
Travel in Space & Time
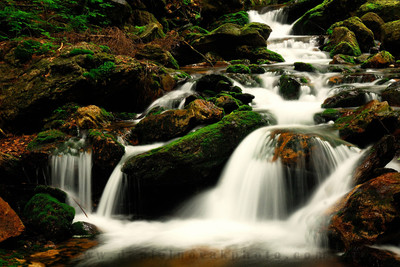 Sometimes, I find myself wanting to be somewhere else, far, faraway, away from people, just me and the landscape. When traveling is not possible at those moments, some music in the speakers or headphones and old photographs can almost take me there.
Here, I've traveled to Jeseníky mountains in the Northern Moravia of the Czech Republic and recalled our wonderful all-day hike along the Bílá Opava creek and up to the range's highest peak Praděd. I could almost hear the water humming as it came down dancing from rock to rock. It's amazing how a single photo can bring back so many memories that are stashed away somewhere in the backs of our minds. Photographs are like an instant recall.
Have fun preserving your memories, and recalling them often!
Looking for Inspiration - The New York City Hydrant Project
 On Tuesday I had some business in New York City. I showed up early and by 10 AM it was all taken care of. And there I found myself tired, sleepy, unmotivated in hot and hazy weather with the camera still in my bag. For a while I even considered heading back to the airport and hoping for a standby.
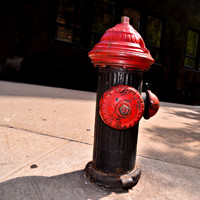
And then I noticed these. Just turning around I spotted a few hydrants, each different. Some in ground, some in walls, different colors. And the camera came out of the bag, and the day started!
As I slowly headed west on 73rd street I looked for a place to pick up some breakfast, and kept looking for more water sources. They were everywhere and not one the same.
After getting some food and drink I've made my way to Central Park and zigzagged my way south. Very nice there, feeling cooler by the ponds in the shadows of trees but no hydrants there!
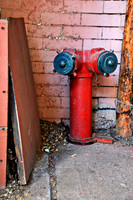 From Columbus Circle I headed further south moving between 5th Avenue, Park Avenue, and Lexington Avenue as I tried to see some of the Manhattan hallmarks like the Chrysler Building, Empire State Building, and more. All along the way there was no shortage of my new buddies for the day.
Here and there, I wondered what the people passing by might think of me. Will they think I am up to no good? Will a cop stop and ask what the heck I am doing? It happened to me before on several occasions. But no, not a single strange look all day long - I don't mind.
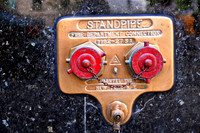 As the day went on I had to stop and get a drink several times, it was really hot and the miles I've put in my legs started wearing me out slowly but surely. Lunch in an air conditioned place was a nice treat and an energy booster. I eventually made my way down through China Town to the Brooklyn Bridge and across, at which point I needed to find my way back to the airport. What took me a day to walk took the subway 20 minutes and I was back on 125th for my bus to La Guardia.
So what else did the day bring in terms of photography? I ended up with way more than these four stand pipe photos here, I have a pretty good collection now. But as the day went on I got some other photos that say New York City too. And based on the direction they were shot at the haze was not always so prominent.
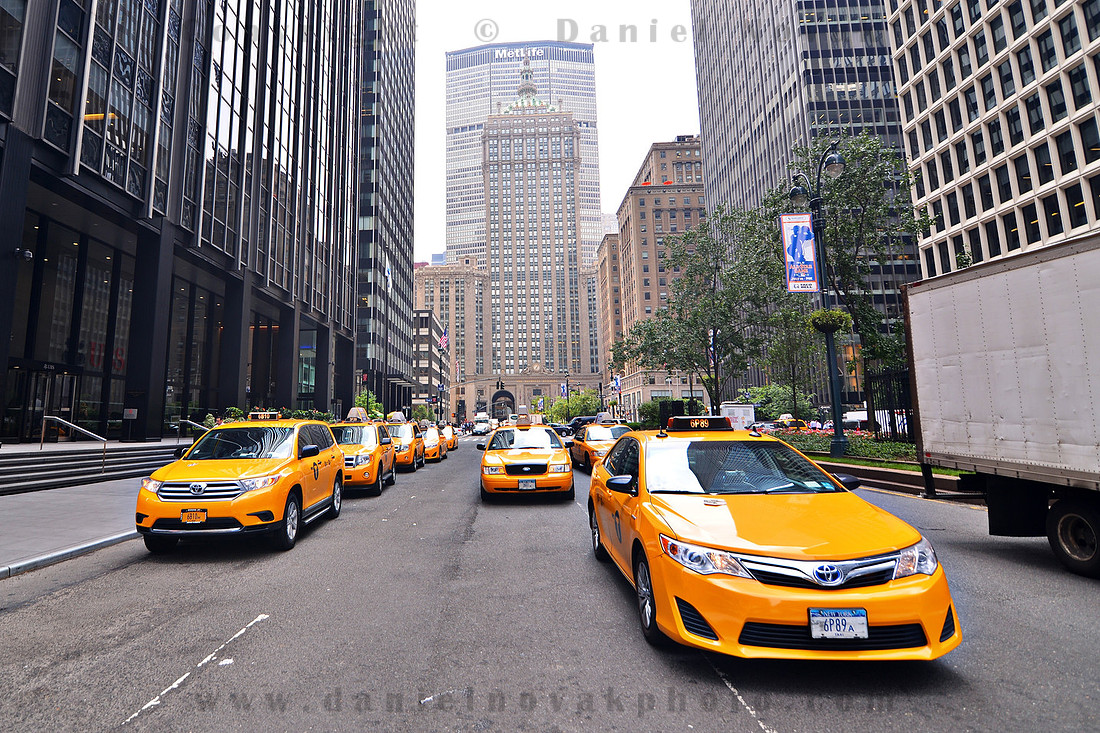
Yellow Cabs on Park Avenue, Manhattan, New York, NY.
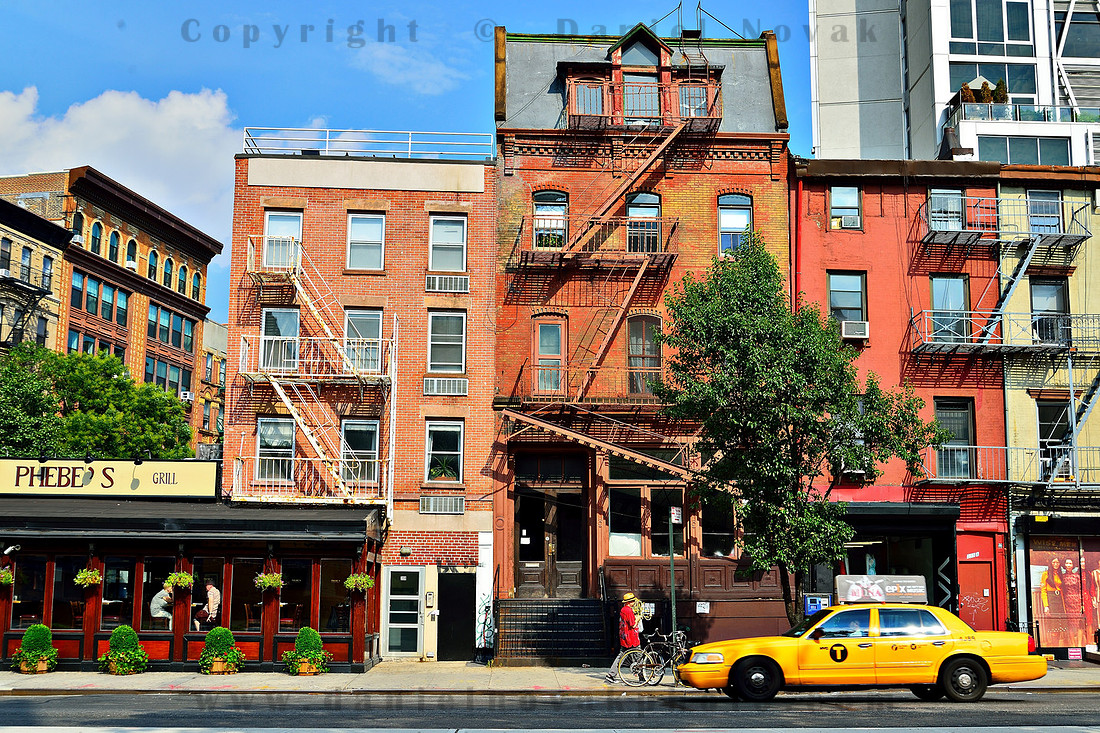 Buildings on Bowery, Manhattan, New York, NY
So next time you despair, look around. You never know what is going to catch your eye and what is going to pull you out!
Have fun with your own photo projects!
Equipment used:
- Nikon D600
- Nikon 24-85mm Nikkor Lens, Tokina 11-16mm Lens (yes, at 16mm this one works on full frame too)
- Promaster 72mm Polarizing Filter
- Handheld, no tripod
- Think Tank Speed Demon Waist Pack, Petzl Zipka Plus 2 Headlamp (always in the bag just in case), SanDisk Extreme 32GB SD Cards
- Nikon Capture NX2
Using my links to buy your equipment keeps me going and costs you nothing. You can also use the Amazon search box in bottom left for anything not mentioned here. Thank you very much, I really appreciate it!
History and Changes
 I have been recently contacted about this photo for a very large output requiring a high resolution. But since this photo was taken with my previous 12 megapixel camera I was asked whether I could re-shoot it in higher resolution, possibly doing a multi-photo stitch for an even higher resolution.
While I had my doubts about recreating the photo I also tried to be in the "why not" frame of mind. Just need a rainy day, dusk or night, wait for the train, and snap, right? I looked up data for my initial attempt to see what shutter speed worked the best, printed off this photo as a composition guide, packed up the camera, tripod, and off I went.
I arrived a little early to see how this photo could work as it would get gradually darker. I did not want to start off with black sky. But as soon as I turned the corner on the Main Street, I knew there would be no retake that night! Of course I knew about the reason behind it ahead of time too but somehow, in the excitement of the moment, it did not even cross my mind. So why not? The project to put traffic back on Buffalo's Main Street is well under way and this location is one big construction zone:
 Other than not being able to attempt the recreation of the original scene, I also had the thought about history. Once the construction is over and the fences gone I may be able to try again, but it will not look the same! There will be a road to be dealt with. It may work better, it may not. Moving cars may provide additional light trails if timed right with the train. Or if they're parked they might just be a pain! Either way, the original is gone with the wind and preserved only in photographs.
Have fun capturing your historical moments, whether you know it at the time or not!